
How to Reorder Rooms on Your SafeTalk Booking Page

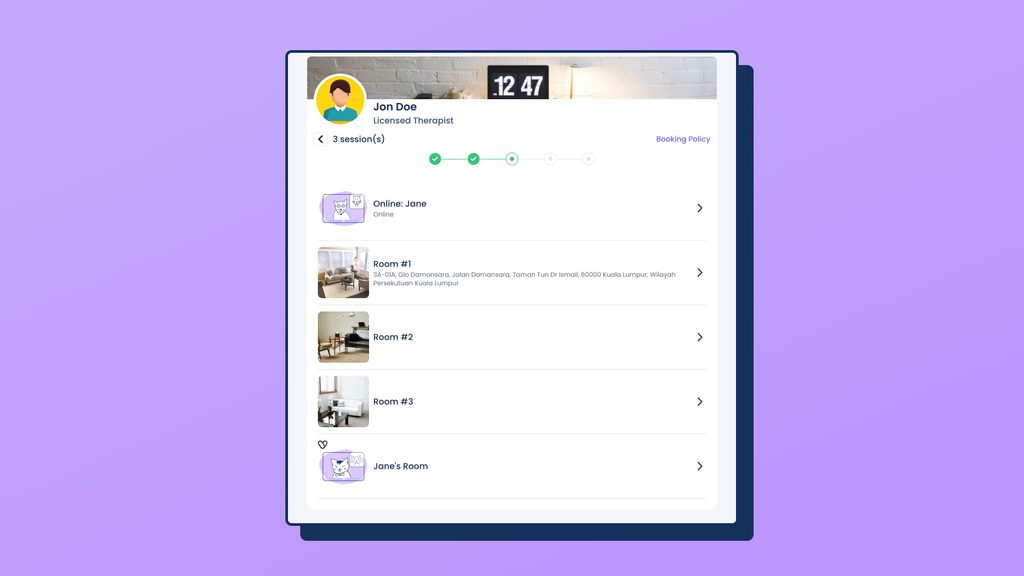
SafeTalk shows your rooms to clients in the order you set under Management → Rooms: when clients book a session, your rooms are listed in that same order — on your booking page and, if you are part of an organization, on the organization booking page. This guide explains how to change it.
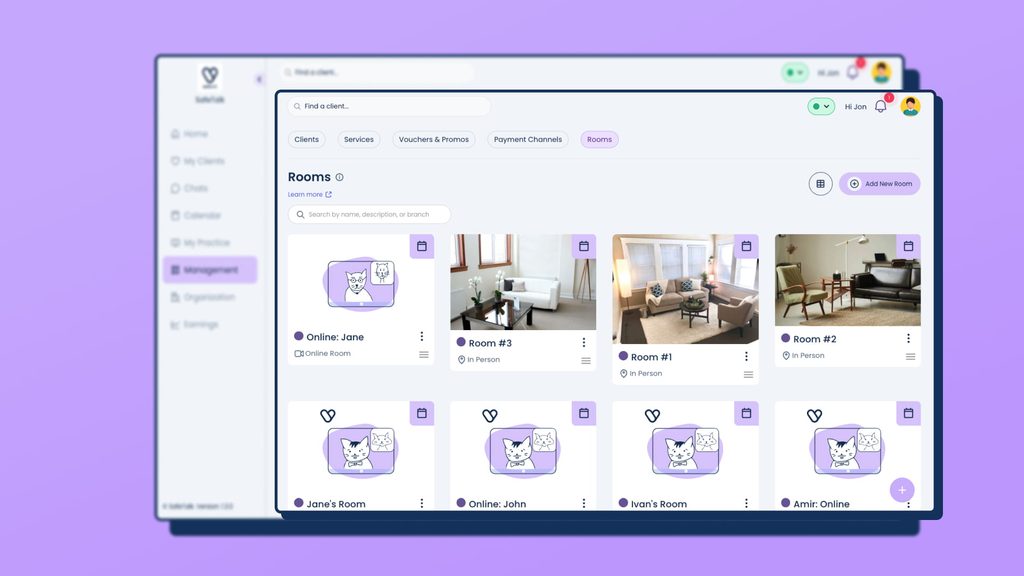
How the order works
In card view, your rooms are laid out in rows. The order numbers follow the same way you read: left to right, then down to the next row.
1 2 3 4
5 6 7 8
So room 1 is the first card in the top-left, room 2 is to its right, and room 5 starts the second row. In table view, there is one room per row, so the order simply runs top to bottom.
Whichever position a card sits in is the order it keeps – and that same order is what clients see on your booking page.
What about branches?
Rooms can be grouped under a Branch (for example, Glo Damansara). On the booking page, the rooms of a branch are shown as one entry – and your numbering decides two things:
1. Where the branch appears. The branch takes the position of its number 1 room.
2. Which room gets booked. When a client books the branch, SafeTalk assigns rooms in your set order: the first room is used by default; if it’s already booked, the next one in line is used.
Here’s an example. On your Rooms page, you might have:
- Room 1 (Glo Damansara)
- Room 2 (Glo Damansara)
- Room 3 (Glo Damansara)
Clients will see a single Glo Damansara option on the booking page. When they book:
- All rooms free → books Room 1
- Room 1 taken → books Room 2
- Rooms 1 & 2 taken → books Room 3
In short: the order decides where the branch sits on your booking page and which room gets booked first – bookings always fall to the next free room in line.
Before you start
- You need at least two rooms for reordering to apply
- Rooms must be created first – see How to Set Up Online and In-Person Appointment Rooms in SafeTalk
Reorder rooms one by one
- Login to your SafeTalk Account
- Click Management on the menu sidebar & select the Rooms tab
- Find the six-dot icon at the bottom right of the room card — this is the drag handle
- Click and hold the drag handle, then drag the room to its new position
- Drop it. The order numbers (1, 2, 3…) update automatically
- The new order is saved automatically — you’ll see “Rooms order updated successfully.”
Note: there is no save button. The order is saved the moment you drop the room.
Reorder multiple rooms at once
Bulk reordering is available in table view only.
- On the Rooms page, click the table view icon at the top right
- Tick the checkboxes next to all the rooms you want to move
- Grab the drag handle of any selected row and drag — all selected rooms move together
- Drop the group into place. Order numbers update automatically
Troubleshooting
- A room isn’t showing on the booking page — rooms only appear if they are assigned to your Booking Schedule
- I can’t drag a room — make sure you’re holding the six-dot drag handle, not the card itself