SafeTalk Telehealth allows you to meet clients in a secure virtual space without relying on third-party video tools such as Google Meet, Zoom, or Doxy. Built directly into your SafeTalk account, it offers a seamless experience for both you and your clients.
This feature is available to users on the Professional Plan. Each session has its own private video room, giving you full control over who joins and when.
If you are experiencing any issues with SafeTalk Telehealth, follow this guide
👉🏻 SafeTalk Telehealth: Troubleshooting & System Requirements
Why SafeTalk’s Telehealth Feature Matters
Confidentiality is critical in therapy, especially during online sessions. That’s why SafeTalk Telehealth is designed with:
- Session-specific rooms so each session has a unique space
- Client-only access to prevent unauthorized entry
- Login protection to make sure only assigned participants can enter
- A waiting room so you can control who enters and when
There is no need to set up external video calls. Everything takes place within SafeTalk, keeping the process simple and secure. When creating a session, just choose your Telehealth Room and your private room will be ready
SafeTalk Telehealth is fully secure and follows the same privacy policy and data protection standards that apply to the rest of your SafeTalk account. Your client data stays protected before, during, and after each session.
How to Use Telehealth on SafeTalk
1. Create your Telehealth Room
Make sure you are on the Professional Plan to access Telehealth features.
Before scheduling any sessions, set up your virtual room:
- Go to Management > Rooms
- Click Add New Room
- In the top-right, select Telehealth by SafeTalk
- Give your room a name and assign a team member
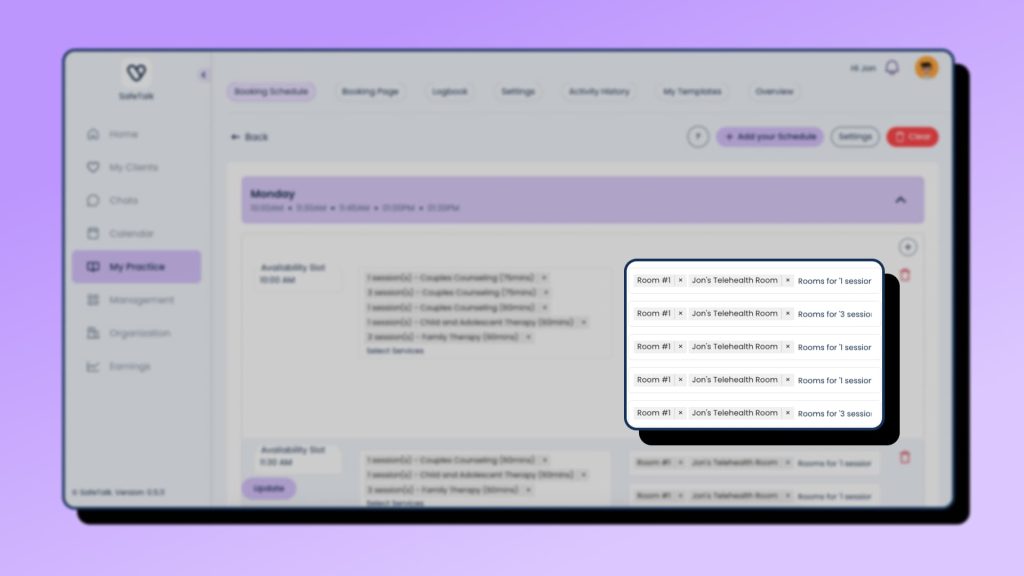
2. Update Your Schedule to Include Your New Room
To make your Telehealth room available for bookings:
- Go to My Practice -> Manage Availability
- Add your newly created Telehealth room to the schedule (Tutorial here)
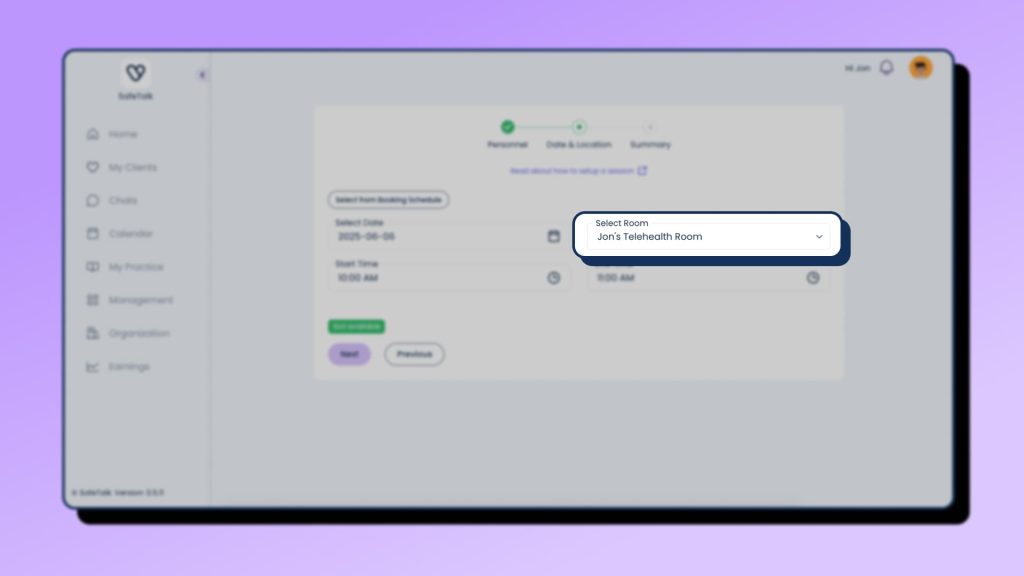
3. Create a Session and Select Your Telehealth Room
Now, schedule your session as you normally would
- Create New Session
- Select your newly created Telehealth Room in Date & Location tab
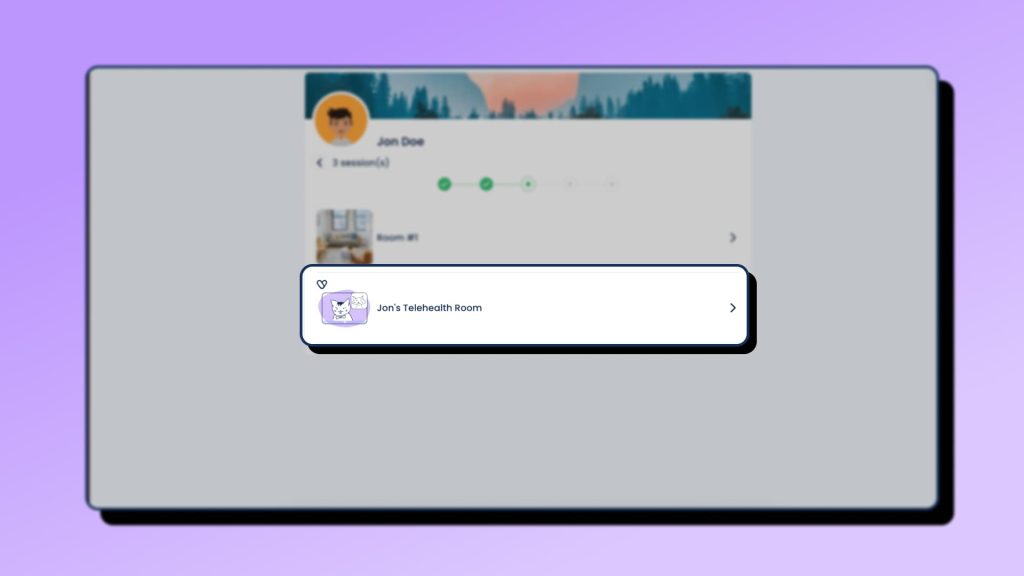
How clients will see it
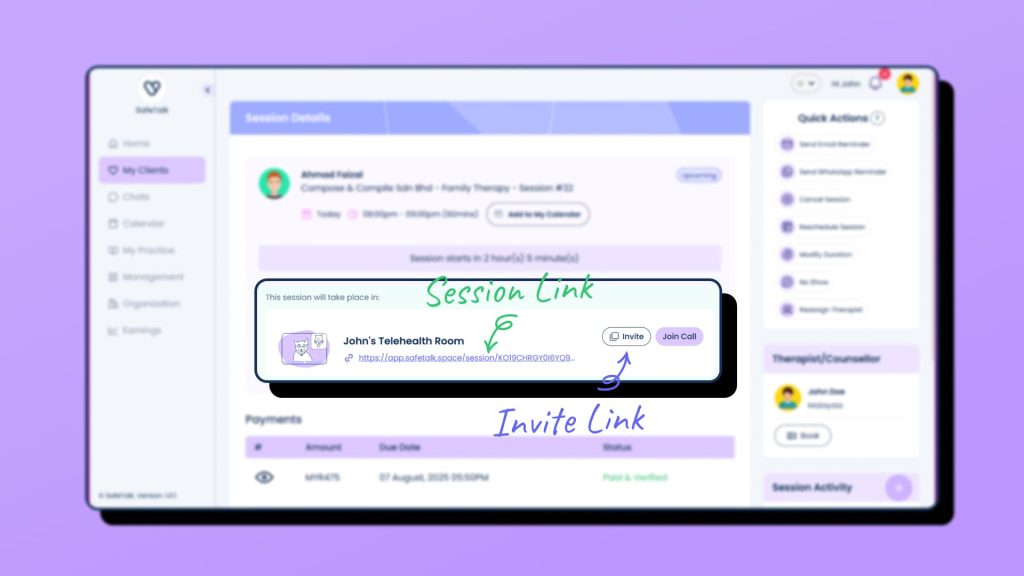
4. Access the Session Link and Prepare for the Session
After creating a session in your Telehealth Room, open the session details page to find your session access options:
- Session Link – This is the standard link for clients who have a SafeTalk account.
- Invite Link – This secure link is for inviting participants who do not have a SafeTalk account. Ideal for family, group, and couple’s therapy. Click to copy.
The same Session Link is also sent to your client via email or can be found under session details
Session Countdown Screen
When you open the session link, you’ll first land on a countdown screen that shows how much time remains until the session begins.

5. Pre-Connect Setup
Once the session is within one hour of starting, refresh the page to load the pre-connect screen.
From here, you can:
- Set up your camera and microphone
- Enter your name
- Test your setup before joining the private room
This ensures you’re ready to begin as soon as you’re ready to admit the client.
6. Manage Invitations and Join Requests
Send Invite Links to Participants Without a SafeTalk Account
If you need to invite participants who do not have a SafeTalk account – for example, in family, group, or couple’s therapy – you can copy the Invite Link directly from inside the Telehealth room.
This secure link lets them join the session without creating a SafeTalk account.
Manage Join Requests in the Waiting Room
Once your client connects to the session, they will enter the waiting room and request to join.
You’ll see a pop-up on your screen with their name and can choose to either:
- ✅ Accept the request to let them into the session
- ❌ Deny the request if the participant is not recognized or not ready
This gives you full control over who enters the session — ensuring a private, secure space every time.
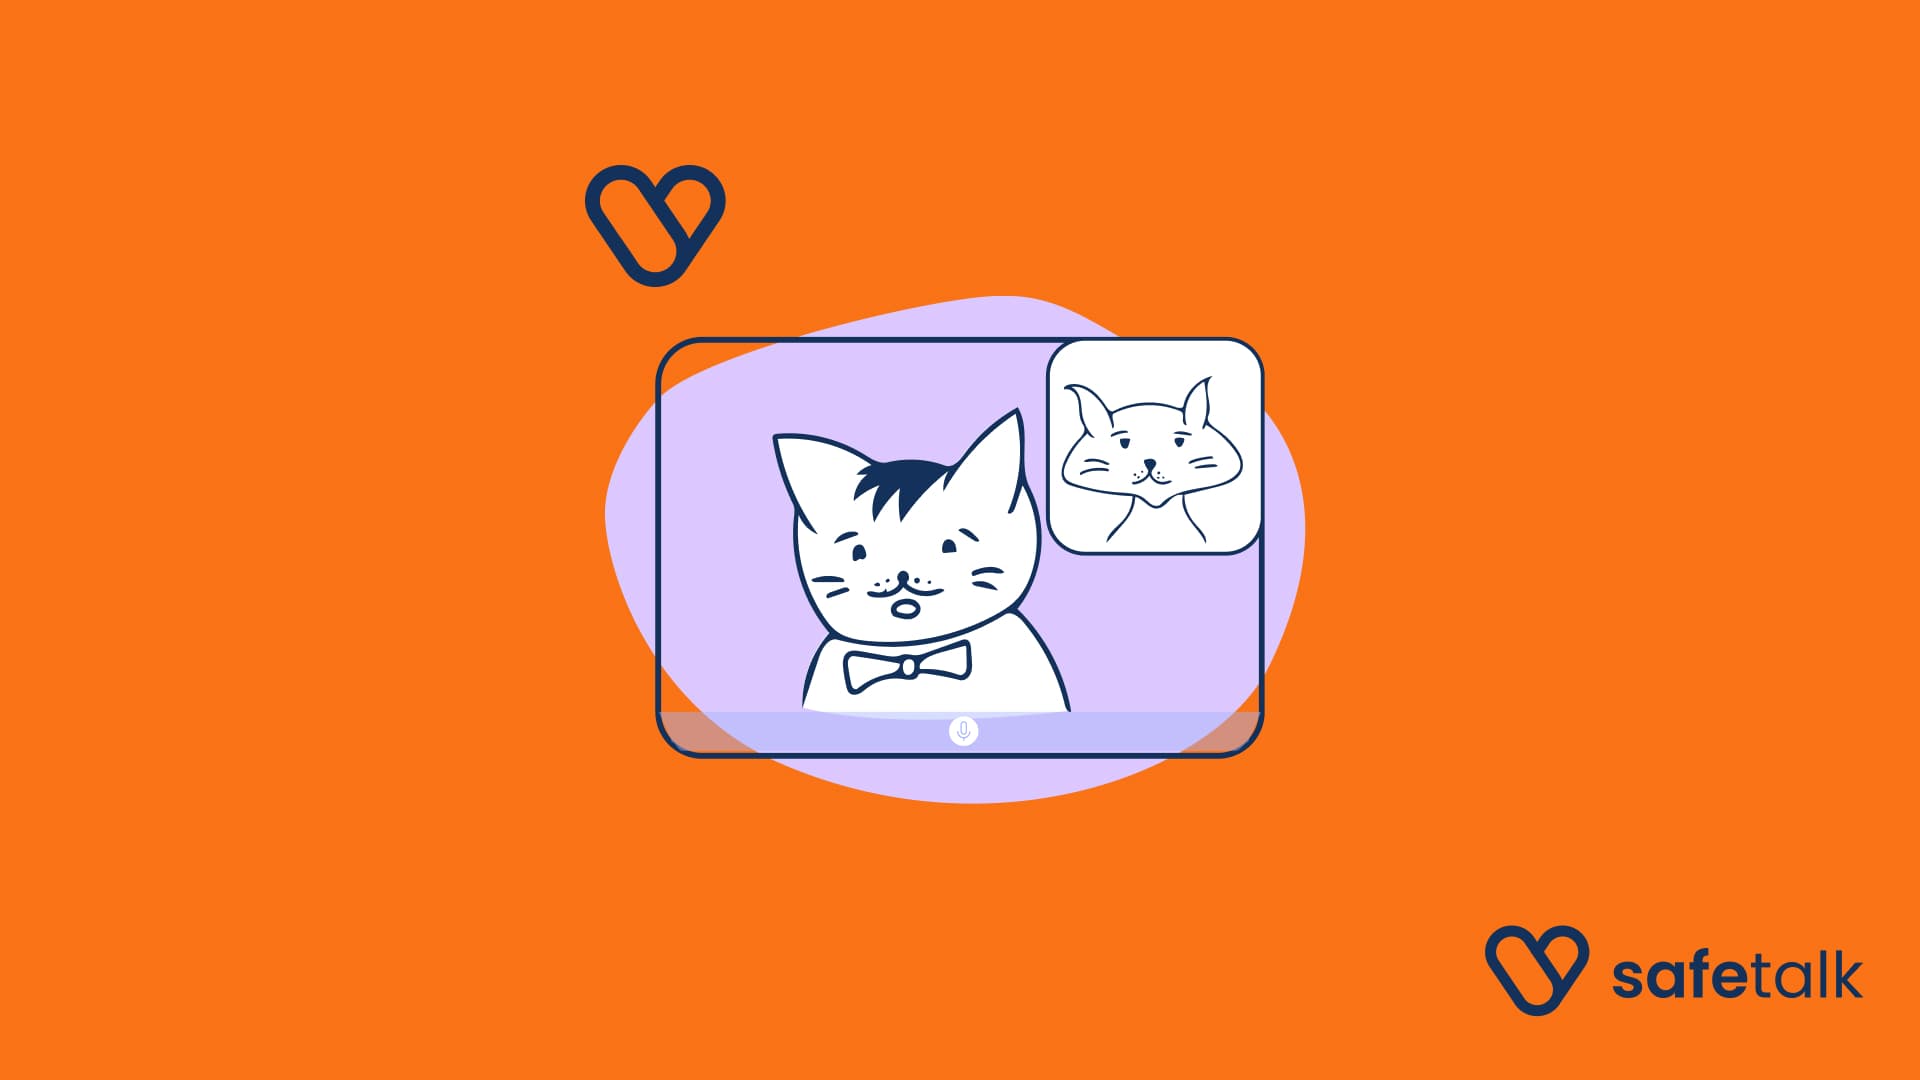
7. Enjoy Your Secure Session
Once the session starts, you’ll see a clean, distraction-free interface built for one-on-one therapy:
- High-quality video and audio
- Controls for camera, mic, and screen sharing
Only you and your assigned client can access this space – no one else can join, even with the link.
SafeTalk Makes Telehealth Easy
SafeTalk Telehealth is designed to give you everything you need for confidential, professional video sessions without leaving your dashboard. With built-in security, client-only access, and session-specific rooms, you can focus on therapy instead of dealing with external tools.
Ready to start? Make sure you’re on the Professional Plan, create your Telehealth room, and begin hosting private sessions with confidence – all within SafeTalk.