
Adding your clients to SafeTalk keeps all their information, session history, and notes organized in one dashboard. It’s the first step to managing your practice more efficiently and ensuring you have everything you need at your fingertips.
In this guide, we’ll walk you through how to add clients on SafeTalk, and explain what happens after they’re added.
How to Add Clients
- Log in to your SafeTalk account.
- From the sidebar, go to My Clients.
- Click Add/Import Clients.
- Choose how you’d like to add your clients, there are two options:
- Add a Client (Single Record) – manually enter one client at a time.
- Add Clients (Bulk Import) – upload multiple client records at once using our Excel template.
Adding a Single Client
- Select Add a Client (Single Record).
- Enter the client’s first name, last name, and optionally, their phone number and email address.
- Click Create New Client to save their record in SafeTalk.
For organization members:
If you are part of an organization, you can select which therapist the client should be assigned to during the single client creation process.

Note: If a client prefers not to use SafeTalk, you can leave the email address and contact number blank. This allows you to keep a complete record of all your clients and sessions in one place, even if the client does not log in or receive invitations.
Adding Clients in Bulk
- Select Add Clients (Bulk Import).
- Download the Excel template provided.
- Fill in each client’s details according to the template format (each row = one client record).
- Upload the completed Excel file back into SafeTalk.
- Click Review
File Validation & Review Process
Tip: Make sure the file follows the template format exactly to avoid upload errors.
After uploading the file, SafeTalk will first validate it:
- If there are issues with the file itself (such as an incorrect format, missing columns, or invalid structure), you will be notified immediately.
- If the file passes validation, SafeTalk will process the data and load a preview table.
Once the table is loaded:
- Each row represents one client with all the data you provided.
- The last column shows the status of each client record.
- This status column is read-only and cannot be edited.
- Possible statuses include:
- Ready to Import (shown in green)
- Errors such as incorrect details, invalid data format, or the client already existing in SafeTalk
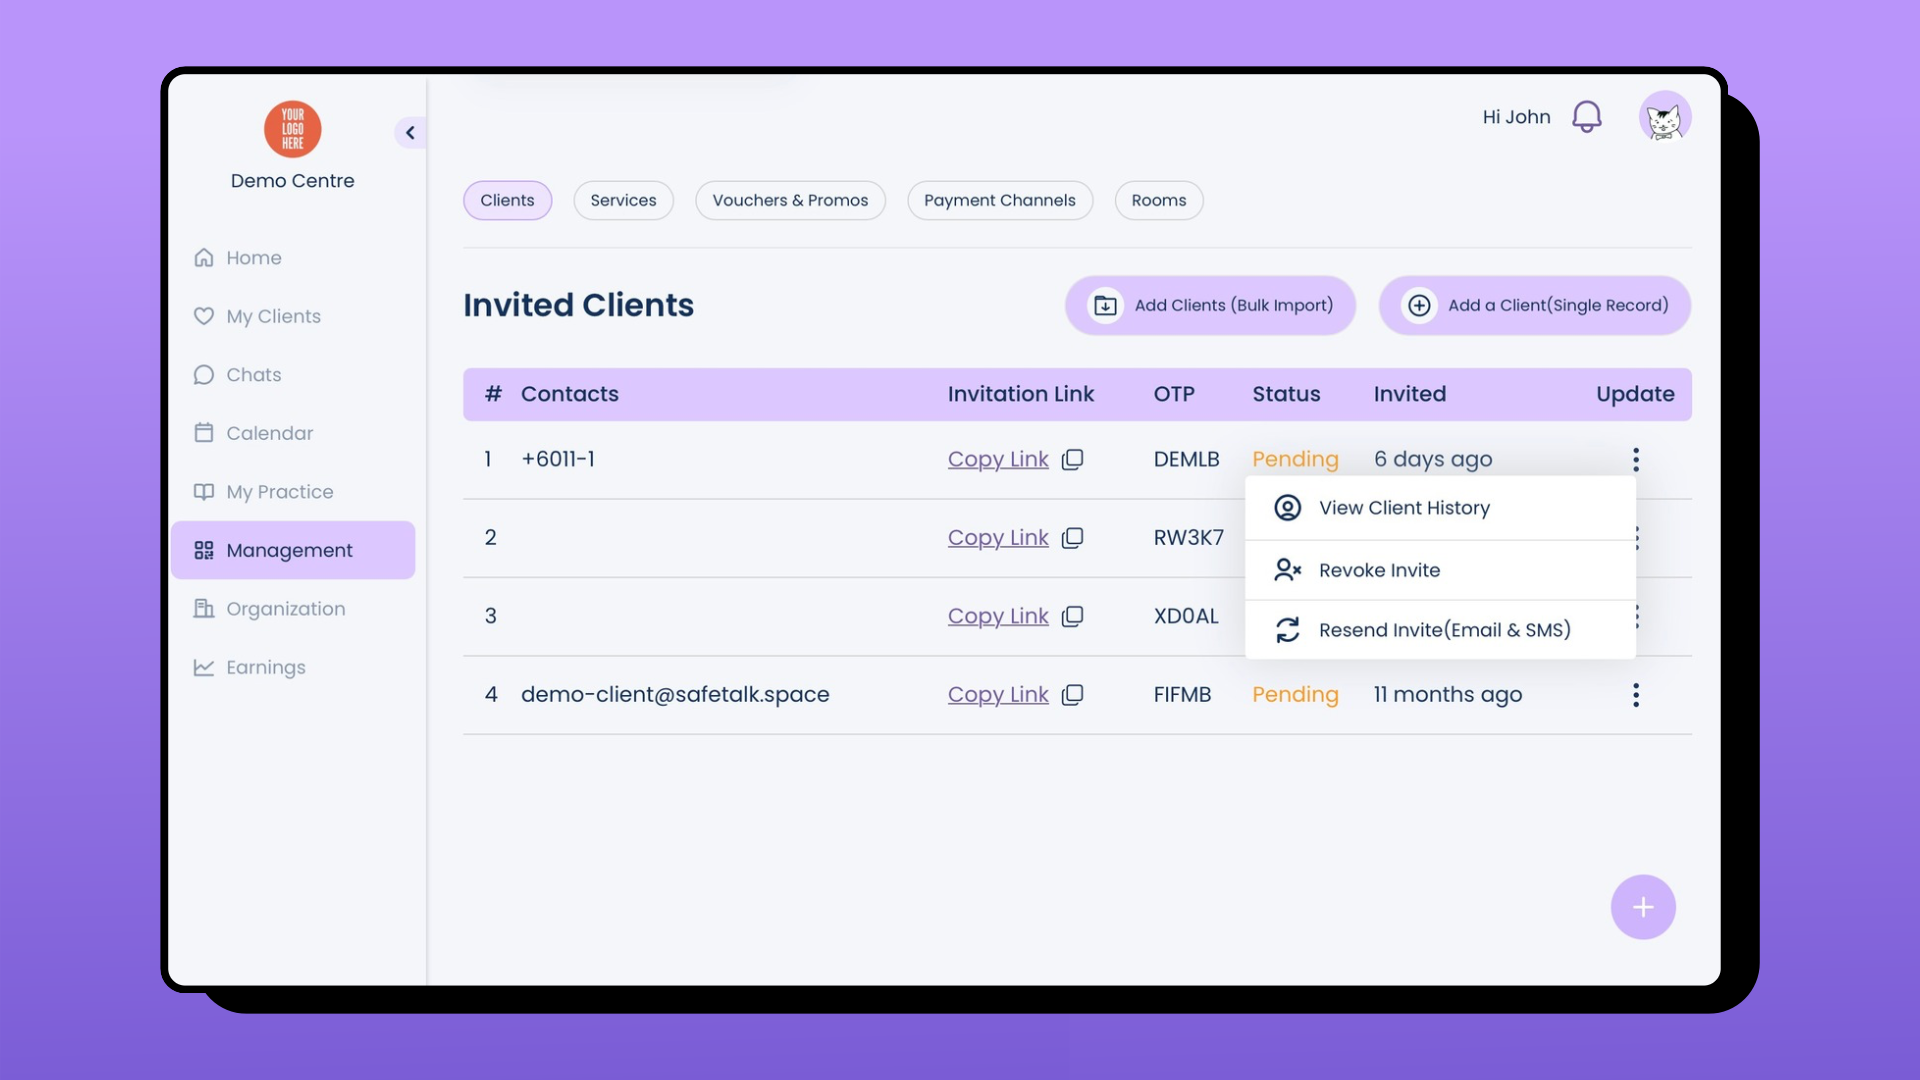
What Happens Next
Once a client is added, they will receive an invitation message from your registered SafeTalk contact if an email address or contact number was provided and Silent Onboarding is not enabled.
As the therapist, you can:
- Resend the invitation at any time.
- Copy the invite link and send it directly to the client.
Client Invitations & Records
If a client’s information is incorrect or they aren’t ready to use SafeTalk, you can revoke their invite code. Once revoked, any attempt to join via that link or code will show an error. You can also update client information by going to Client History in My Clients or selecting it from the three dots on the right side.
Streamline Your Client Management
With SafeTalk, keeping client information accurate and managing invitations is simple. Adding clients is the first step in simplifying how you manage your practice and keeping everything running smoothly.